Oracle 9i Release 2 Client Installation and Net Service Name Configuration
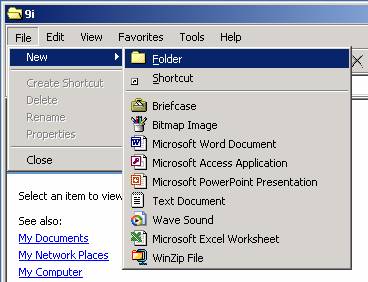
Create a folder

You can call it 9iClient.

Extract the file to the folder that was created.
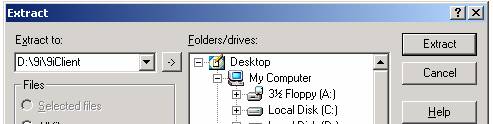
In this case the folder name is 9iClient
Oracle 9i Release 2 Client Installation and Net Service Name Configuration
Create a folder
You can call it 9iClient.
Extract the file to the folder that was created.
In this case the folder name is 9iClient
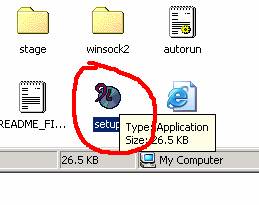
After Extracting
CD to folder 9iClient and click on the setup icon
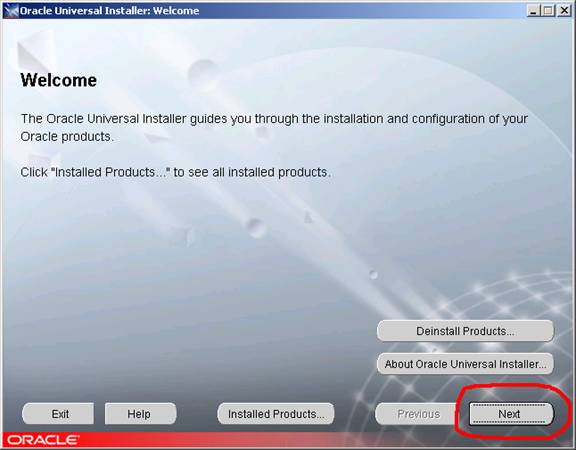
Click Next to start the installation
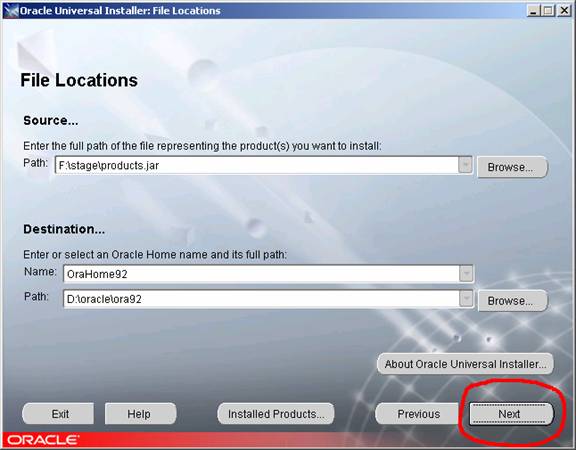
Keep defaults or change location path with the browse button
Click Next
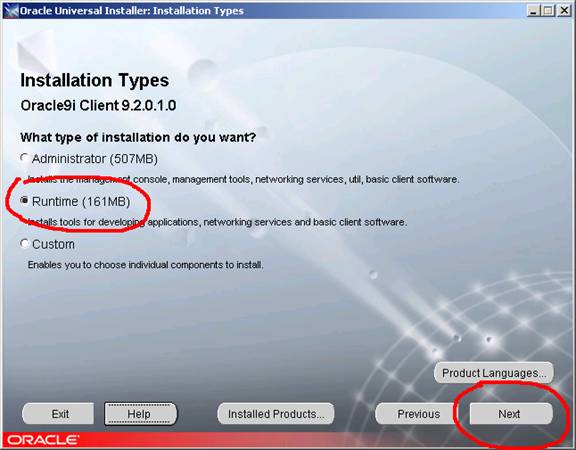
Select Runtime
It is the smaller installation size
Has all the features needed to connect
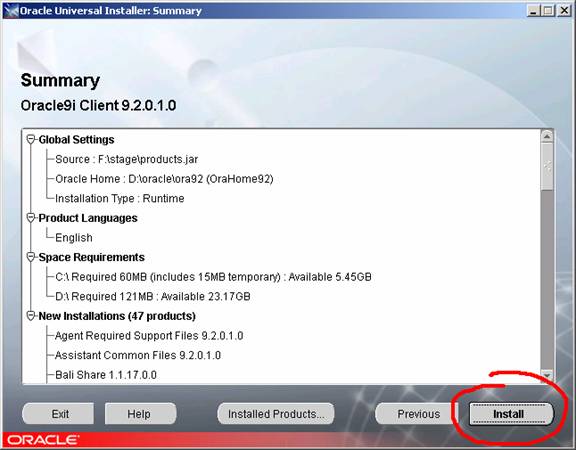
Review your options
Click Install to continue
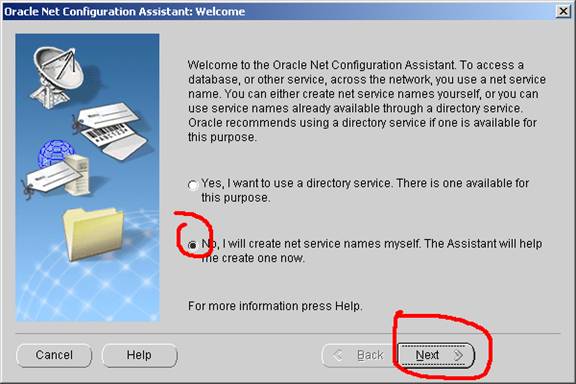
Installation of the software is complete
You do not have any net service names configured
Select the “No, I will create net service name..”
Click Next
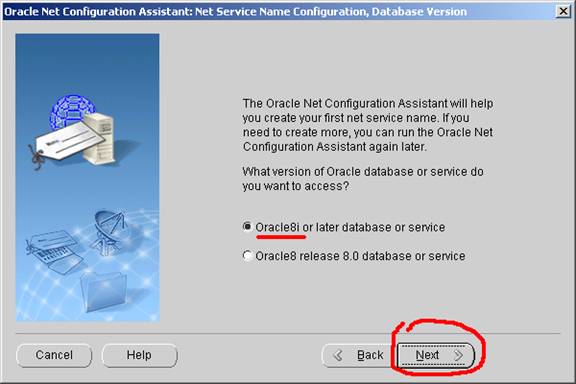
The Database at the CALC lab is Oracle8i – Default
Click Next
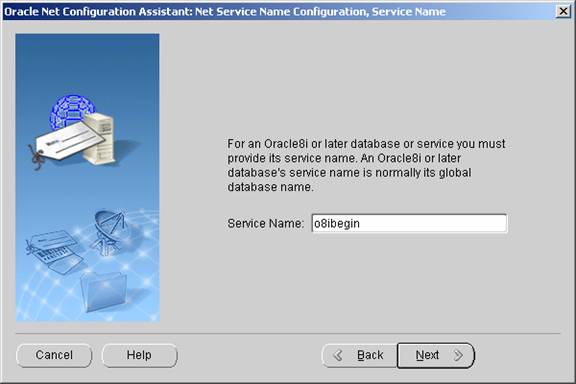
Enter the service name o8ibegin. Click Next.
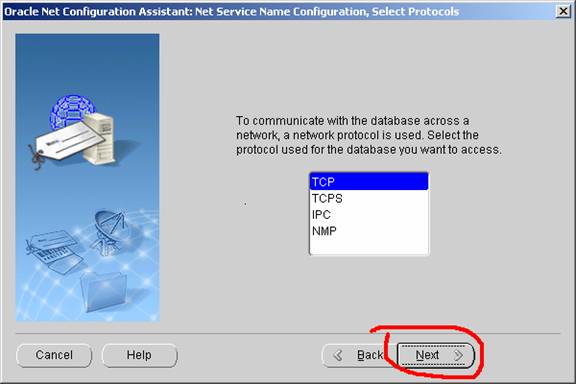
TCP is the default. Click Next.
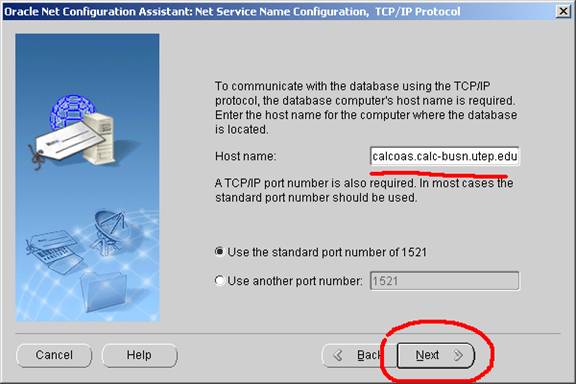
Enter the hostname calcoas.calc-busn.utep.edu and click Next.
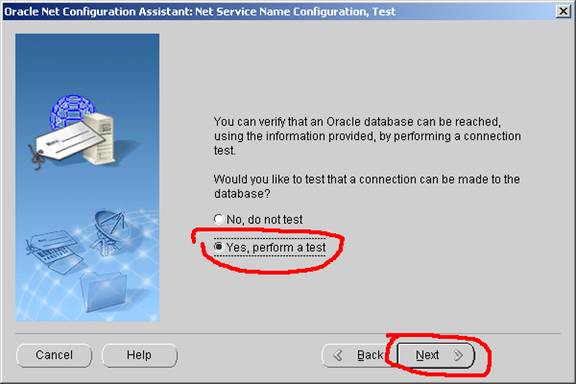
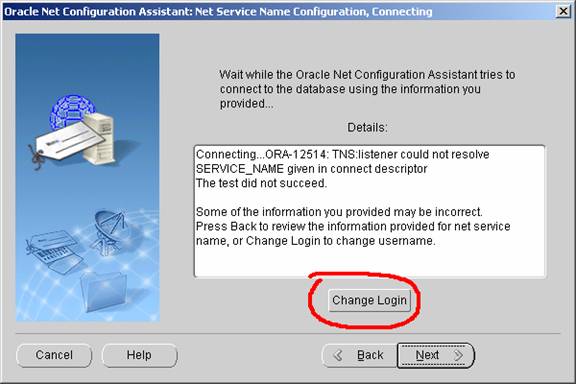
Click on Change Login to enter the login that was given to you in class.
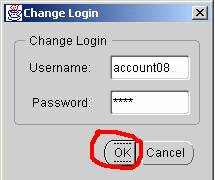
Make sure that you enter your personal login.
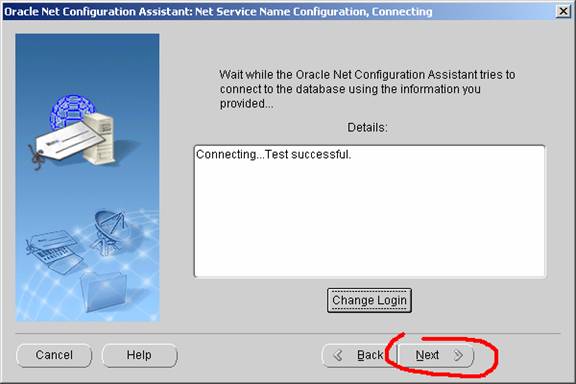
Click Next
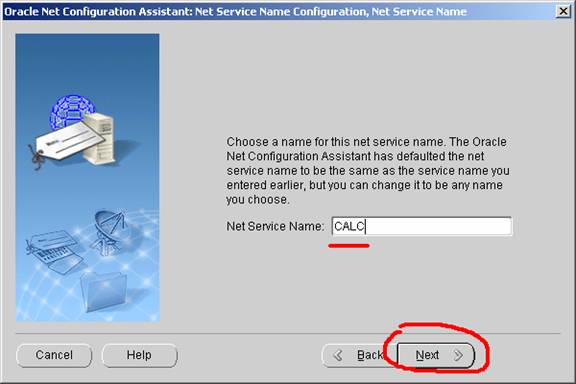
Give it a name that you will be using when connecting with SQL Plus.
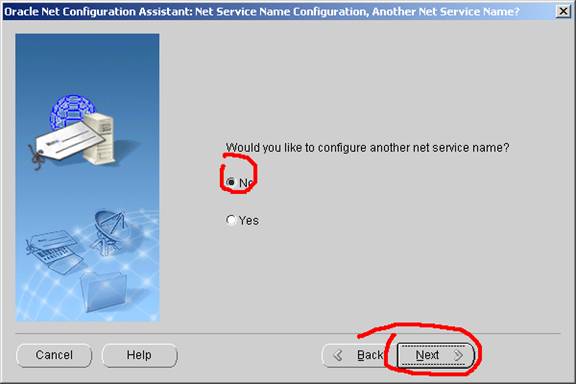
Select No, and click Next.

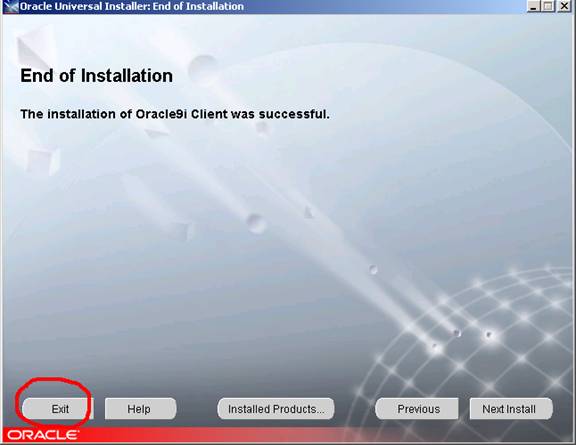
Close the original Oracle installation screen.
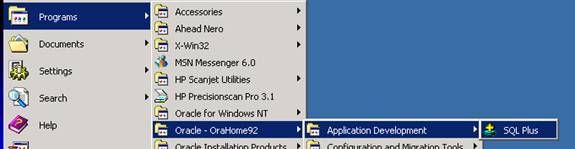
Go to start-Oracle-OraHome92-Application Development-SQL Plus to login
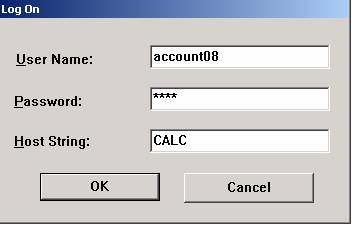
Enter your login and password
The Host String is the Net Service name that you created earlier: CALC
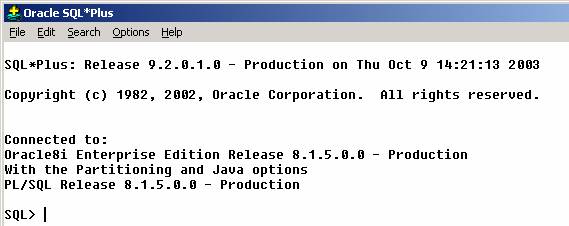
When you see the above SQL> prompt, you have successfully installed the Oracle Client.